
Declutter
(once and for all)
Check out the step-by-step guide below to get started.
⬇️
at-home | ▲▲ difficulty | ⏳ an entire day or weekend
Step-by-step guide
OK, let’s get started.
Step 1: Get your game-face ready
Throw on some cleaning music that’s going to get you moving. Tea or coffee can also help you get energized. Then, let’s get to work.
Step 2: Prepare 4 piles
Prepare to tackle each room separately. We provide step-by-step instructions for the main rooms (kitchen, bathroom, bedroom, and living room). For more guidance on other areas of your home, check out the resources at the bottom.
Before we dive into each room, you’ll want to first prepare four overall piles. As you move from room to room, every item should belong to a respective pile.
KEEP. Items you need and use on a daily basis or main items that bring you joy (like plants or wall art).
TOSS. Items you don’t need or use. This is most important for decluttering. Get rid of anything that doesn’t add value to your life. If you’re on the fence, use Marie Kondo’s method of physically holding the item in your hand and asking yourself, does this bring me joy? If the answer is no, it should be tossed, or donated.
DONATE. For items you no longer want, especially items like clothes, set them aside to donate. It’s a wonderful way to help others in need.
STORE. Seasonal or sentimental items that you want to keep such as photos, personal letters, holiday decorations, etc.
Remember: Don’t move onto the next room until you finish the room you’re working on. It’ll keep you clear, organized, and motivated to move to the next room.
Step 3: Start with the kitchen
We recommend starting with the kitchen since the fridge may have expired items that should be prioritized and tossed.
Cabinets
Take everything out of your large cabinets. Yes, everything. That means containers, pots, pans, cooking ingredients, the pantry, etc. Begin placing each item into its respective pile (keep, toss, donate, store) one by one. Organize your KEEP items into groups. Canned food goes with canned food. Containers go with lids. Etc.
Give each KEEP group a specific home and do your best to place similar items near each other. For example, you may have a cabinet for your plates, bowls, and cups and another designated place for canned food items.
Next, rinse and repeat with your smaller cabinets such as under the sink and utensil drawers.

Countertop
Once you’ve organized your cabinet space, move to the countertop. What do you use on a regular basis? Create more space on your counter by limiting the number of appliances in plain sight. TOSS appliances you don’t use. If it’s broken, TOSS. If you want to keep an appliance, but it’s not being used on a daily basis, put them in a storage cabinet.

Refrigerator
Follow the same process as the cabinets. Take everything out. TOSS the expired food. Sanitize and wipe down the inside of the refrigerator and place your KEEP items back in their respective place in a neat, organized fashion.
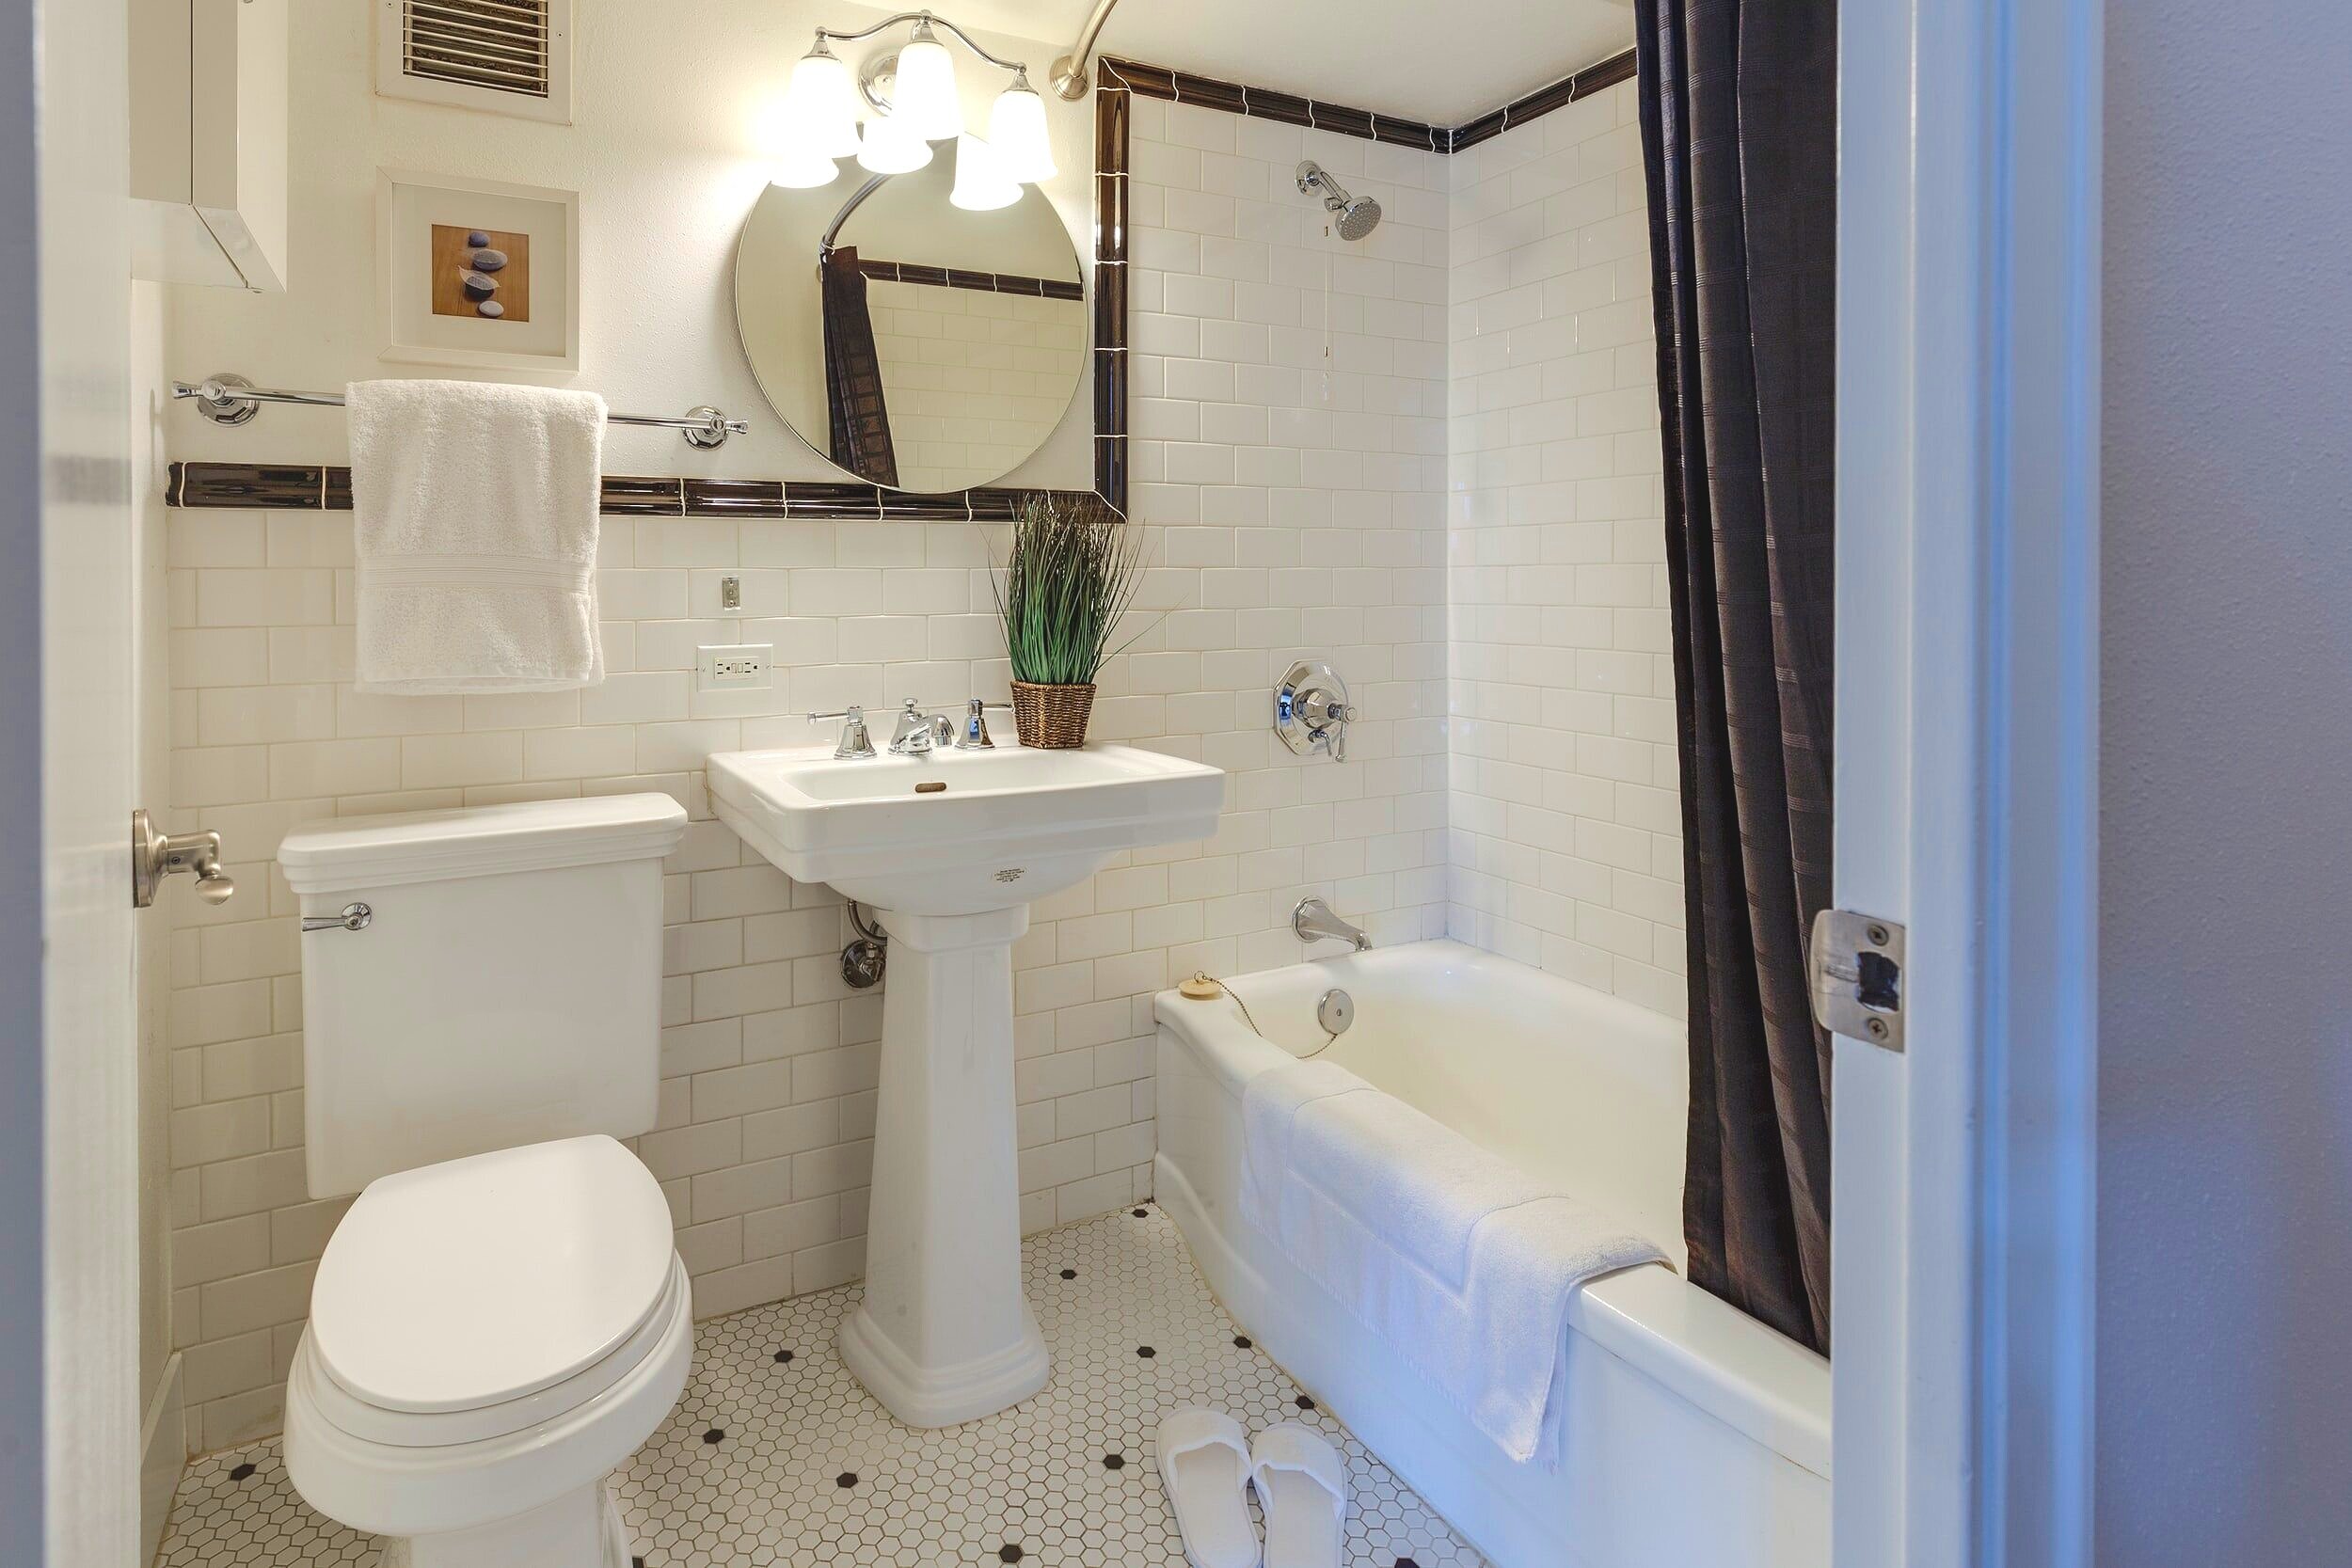
Step 4: Move to the bathroom
Cabinets
Follow the same process as you did with your kitchen. Start with your main bathroom cabinets and take everything out. TOSS anything you no longer have a use for. To keep things organized with smaller items, you may want to invest in mini organizers or baskets and make it easier to find the items you need.
Place the items that you use daily within easy access. Whether that’s medications, make-up, or hygienic items, put them in a centralized location, and store away any items that aren’t used as often. The bottom of the sink are great places to store items like cleaning supplies or toilet paper.

Shower and Bathtub
If your shower or bathtub has a countertop, keep it minimal with only a couple items that you use daily. It makes it easier to clean and keeps only the products you need in plain sight. If you don’t have a countertop or shelves, you may want to store your soap, shampoo and conditioner in a shower caddy.
Step 4: Next up, the bedroom
Ah, the bedroom. A sacred room where we spend at least a third of our time every day. The first thing to do in this room? Make sure the bed is made — it makes all the difference.
Surface Tops
Start from the top and work your way in. Begin clearing the top of any surfaces including nightstands, dressers, or desks. Minimize the items in plain sight. Toss any items you don’t need.

Clothes
Once you clear off the top of your surfaces, start taking all of the items out of your drawers as well as the closet. Lay them on the floor or on the bed and one by one, determine if you are keeping, tossing, or donating.
When it comes to clothes or shoes, ask yourself:
When’s the last time I wore this? If you haven’t worn something in the past six months to a year, how likely are you to wear it?
Does this article of clothing bring you joy? If not, get rid of it.
Fold the clothes neatly. Create a designated place for your different articles of clothing. A drawer or closet section for casual shirts, one for dressier shirts, one for casual pants, one for dressier pants, etc. Don’t overthink your sections — just do your best organizing. If you really want to maximize your closet space, here are some ideas for closet organizers.

Other things to consider for the bedroom
Use a jewelry box to keep your jewelry organized.
Store items under the bed or invest in a trunk for more storage.
Use hooks on the back of your door if you need more space to hang your favorite jacket, towel, bathrobe, etc.
Step 5: Finish with the living room
Last but not least, the living room. It’s often the most central room of the house, making it difficult to maintain, yet very important to declutter.
You’ll want to implement the same techniques from the kitchen, bathroom, and bedroom. Start by tossing away any items on surfaces and putting away any items that are out of place or should be stored, such as books, blankets, miscellaneous items. You should have a designated place for things like keys, remote controls, children’s toys, etc. They should all be put away until they are being used and placed back in their designated place every time.

When it comes to your electronics, a good rule of thumb is to store anything that’s not connected to your TV. Minimize the amount of wires hanging out, or hide them behind furniture if you can.
Next, empty out any items inside of your drawers, including the living room table and TV stand. Place each item in their respective pile (keep, toss, donate, store).
Remember to maintain the living room and declutter on a regular basis.
Step 6: Take it all in
Reward yourself — decluttering an entire room, let alone, an entire apartment or house, is no small feat. Pat yourself on the back for turning your home into an organized sanctuary, and notice the stress or anxiety float away.
Relevant links:
8 ways to declutter a kitchen via The Spruce
How to declutter and organize your bathroom via The Spruce
9 easy tips for organizing your bedroom via The Spruce
How to organize every room in your house via The Spruce
The KonMari method Learn what the KonMari method and philosophy is all about.